
Introduction

When something goes wrong in Git, I don’t panic—I follow a plan. Whether I mis-typed an env var, committed a secret by accident (alamak!), or just want a cleaner history, the right approach helps me remove the mistake fast and safely. In this guide, I’ll show exactly how I decide and execute the right move to remove a commit from a branch, using commands that are reliable, accurate, and easy to apply on any device or terminal. I’ll cover the latest, 2025-friendly methods and the gotchas I’ve learned, with a light Malaysian flavor—so we keep things chill, but precise. Not all commits are equal, and not all branches are private. That’s why the solution depends on what’s been pushed, who else is pulling, and how much you care about a tidy history. I’ll walk through four primary methods—reset, interactive rebase, revert, and reflog—then layer in scenarios, troubleshooting, and recovery tips. Even if you’re working from a cafe in KL on a small laptop, the steps here are concise, beginner-friendly, and tuned for responsive reading so you can move quickly without breaking the team’s flow.
Understanding the Scenarios
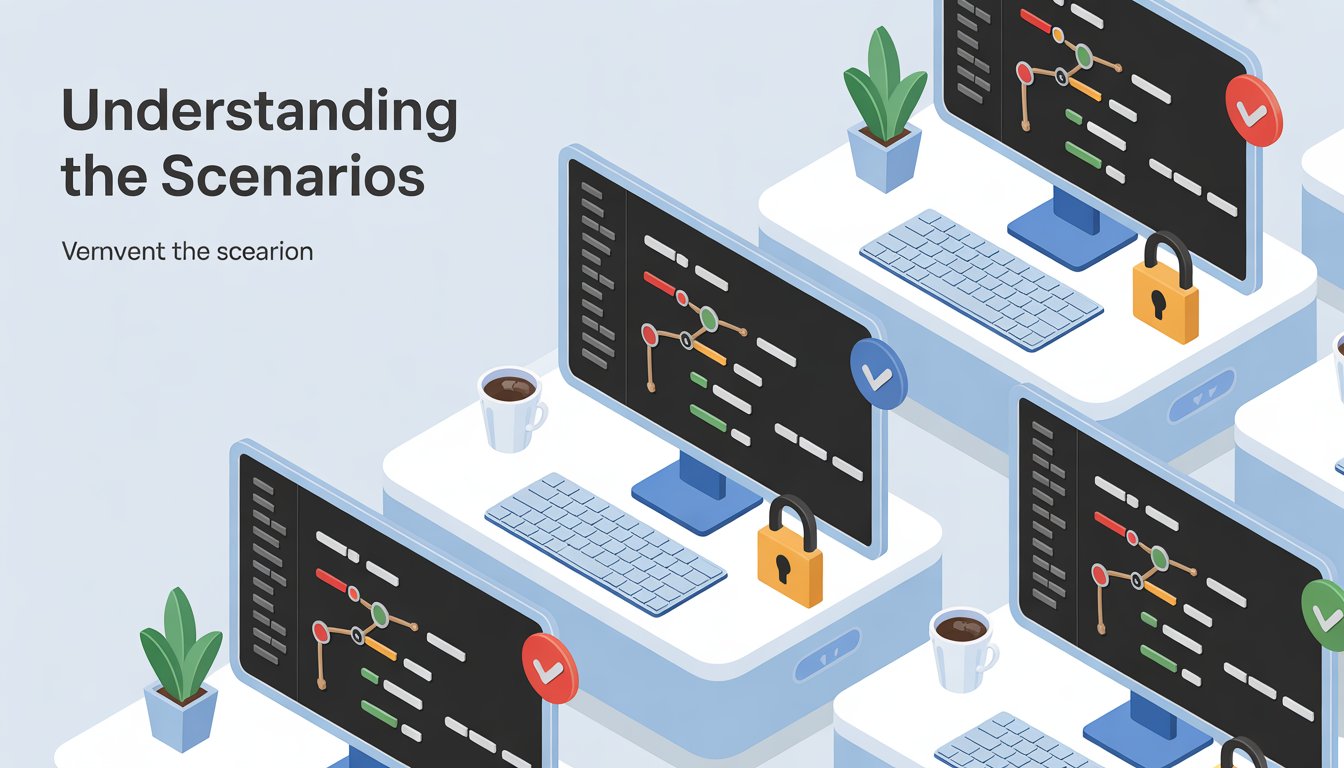
Before diving into the commands, it’s essential to grasp the different situations you might encounter when trying to remove a commit from a branch. Factors like whether the branch is shared or if the commit has been pushed to a remote repository play a crucial role in choosing the appropriate method. By evaluating these aspects upfront, you can avoid common pitfalls and ensure a smooth process that maintains your project’s integrity.
Before running any command, I ask two questions: is the branch shared, and has the commit been pushed? If the commit is only local, history rewriting is easy. If it’s public, I’ll usually avoid rewriting history and use a revert—unless the team explicitly agrees to force-push. This quick matrix helps me pick the right method without second-guessing.
| Method | Best For | Safe for Shared Branch | History Changes | Keeps Working Tree | Push Strategy |
|---|---|---|---|---|---|
| git reset | Undo last commit(s) locally | No (unless coordinating) | Rewrites | Soft: yes, Hard: no | Force push (with lease) if already pushed |
| git rebase -i | Remove or edit a specific earlier commit | No (unless coordinating) | Rewrites | Yes | Force push (with lease) if already pushed |
| git revert | Undo in public/shared branches | Yes | Does not rewrite | Yes | Normal push |
Use Case:
If I committed credentials by mistake to a public branch, I prefer to rotate the secret and then revert, because it’s explicit and safe for teammates. If I just want to clean up a messy local feature branch before a pull request, I’ll reset or rebase interactively, because a neat history is easier to review. If an old commit deep in the stack is the culprit, interactive rebase lets me surgically remove it without touching good commits around it. Different game plans for different vibes, lah. Always consider the impact on your team’s workflow when selecting a use case, as this ensures collaboration remains efficient and error-free.
Prerequisites
Setting up properly before attempting to remove a commit from a branch is key to avoiding unnecessary complications. Ensuring your Git version is up to date and your working directory is in a stable state can make the difference between a quick fix and a frustrating ordeal. By preparing these elements, you’ll be better equipped to handle the various methods discussed in this guide.
Make sure your tooling is recent (Git 2.40+ is great in 2025), your branch is clean (no pending merges unless you’re resolving), and you know if your commit is already on the remote. I also like to add a safety tag before big moves: git tag backup-before-undo so I can jump back easily. Finally, coordinate with teammates if you plan to rewrite history on a shared branch—saves everyone a headache, kan? Additionally, backing up your repository or creating a new branch for experimentation can provide extra peace of mind during these operations.
Inspecting the Commit History
Before making any changes, thoroughly inspecting your commit history is crucial for identifying the exact commit you want to remove from a branch. This step helps prevent mistakes and ensures you’re targeting the right part of your project’s timeline. Using Git’s built-in tools for this purpose can provide clear insights into your repository’s state.
I start by confirming exactly which commit to target. The quickest view is: git log --oneline --decorate --graph -n 20. This shows a compact, readable history that’s friendly even on narrow mobile terminals. To deep-dive into a commit, I use git show <hash> to see the patch and metadata. If I’m unsure whether a commit reached the remote, I run git branch -vv or compare with git log origin/BRANCH..BRANCH to list local-only commits. Mastering these inspection commands will improve your overall Git proficiency and make troubleshooting easier in the long run.
Method 1: Deleting the Most Recent Commit Using git reset
When dealing with the most recent commit that needs removal from a branch, git reset offers a straightforward and efficient approach. This method is particularly useful for local changes but requires caution if the commit has been shared. Understanding the different modes of reset allows you to control exactly how your working directory and staging area are affected.
Steps:
First, I confirm that the commit I’m about to remove is indeed the last one. Then I choose the reset mode that matches my intent. If I want to keep my code changes but just redo the commit, I use --soft; if I want a clean slate, I go --hard. I also check whether the commit was pushed—if yes, I prepare to force push with a lease to avoid clobbering teammates’ work. For instance, to keep changes staged, run git reset --soft HEAD~1, which undoes the last commit while preserving the index. The default mixed reset with git reset HEAD~1 keeps changes unstaged, offering flexibility for further modifications. For discarding changes entirely, git reset --hard HEAD~1 is the way to go, but use it judiciously.
If the commit was already pushed, I finish with git push --force-with-lease. Using --force-with-lease protects me from overwriting a teammate’s new work on the remote, which is a nice safety net, macam seatbelt. Incorporating this push strategy enhances collaboration in team environments.
Important Considerations:
The --hard option is destructive—it wipes the working tree and index completely. I only use it when I’m absolutely sure I don’t want those changes anymore. For shared branches, I avoid reset unless the team agrees, and I always prefer --force-with-lease over --force to maintain safety. If my editor or CI hooks modified files after the last commit, such as with formatters or build outputs, a soft or mixed reset keeps things simple so I can recommit cleanly. Always double-check your current branch before resetting to prevent accidental changes to the wrong part of your repository.
Method 2: Deleting a Specific Commit Using Interactive Rebase (git rebase -i)
For commits that aren’t the most recent, interactive rebase provides a powerful way to remove a specific commit from a branch while maintaining control over your history. This method allows for precise editing and is ideal for refining branches before merging. It’s especially useful when you need to clean up history without affecting your current working files.
Steps:
I first count how far back the bad commit sits in the history. Then I start an interactive rebase from just before that point. In the editor that opens, I change the action to drop (or simply delete the line) for the offending commit. If I also need to tidy up related commits, I use reword, edit, or fixup to make the history clean and meaningful. For example, begin by finding the distance with git log --oneline, then initiate the rebase with git rebase -i HEAD~N. After marking the bad commit, save and exit; if conflicts arise, resolve them, use git add, and proceed with git rebase --continue. Once completed, push using git push --force-with-lease if the branch was previously published.
If I’m using autosquash, I add --autosquash and prefix commit messages with fixup! or squash! for a smoother experience. It’s neat, saves time, and keeps reviewers happy. This approach streamlines the process of maintaining a professional commit history.
Important Considerations:
Interactive rebase rewrites history, so I avoid it on public branches unless the team explicitly agrees to the changes. I always stash or commit any work-in-progress before rebasing to prevent conflicts with local modifications. If I encounter complex conflicts, I resolve them methodically and use git rebase --continue or git rebase --abort if things go awry. Good commit hygiene here pays off—future me will thank present me, confirm one. Remember to communicate with your team about any history rewrites to avoid synchronization issues later.
Method 3: Reverting a Commit Using git revert
When working on shared branches, git revert is often the safest method to remove the effects of a commit from a branch without altering history. This approach creates a new commit that counteracts the changes, preserving the project’s timeline. It’s particularly valuable in collaborative environments where maintaining an accurate record is crucial.
Steps:
I identify the commit hash and run git revert <hash> to create a new commit that reverses the changes. If there are conflicts, I fix them, use git add, and continue the process. For multiple commits, I can pass a range like git revert A..B or handle them individually for better control. For instance, reverting a single commit is as simple as git revert abc1234. When dealing with a range, note that it excludes A and includes B. For merge commits, use git revert -m 1 <merge-hash> to specify the mainline parent.
Once the revert is created, I push normally without any force options. No history rewriting, no drama—senang cerita. This method ensures smooth integration with existing workflows.
Important Considerations:
Revert preserves history but can be tricky if the original change conflicts with subsequent commits in the branch. If I need to revert a revert later to reapply changes, I can simply revert the revert commit—Git will attempt to reintroduce the delta cleanly. For merge commits, picking the correct mainline parent number is crucial; I usually check git show to confirm the parent order. Always test the revert in a separate branch if possible to verify its effects before applying to the main branch. This precautionary step can prevent unexpected issues in production environments.
Method 4: Removing a Commit from a Public Branch
Handling commits on public branches requires extra care to avoid disrupting others who rely on the repository. The choice between reverting and rewriting history depends on the situation’s sensitivity and team agreements. This method emphasizes stability and communication to maintain trust in shared development environments.
Steps:
First, I decide between revert or rewrite based on the commit’s nature. If the change is harmless but incorrect, I opt for revert. If it’s sensitive like exposed credentials, I rotate the secret, rewrite locally, and force push with the team’s approval. Then, I confirm CI passes and inform the team so everyone updates their local branches. For the safe route, use git revert <hash> followed by git push. For rewriting, coordinate first, then reset or rebase, and use git push --force-with-lease. Instruct teammates to run git fetch then git reset --hard origin/BRANCH if history has changed.
Good communication is part of the workflow: a short message in your team channel or commit description avoids confusion, especially across time zones in Malaysia and beyond. This practice fosters better collaboration.
Important Considerations:
Many repositories protect main branches from force pushes; if you hit a rejection, check branch protection rules or ask a maintainer. Remember that rewriting public history invalidates others’ local histories; provide exact commands to resync. If compliance matters, keep an audit trail in merge requests or issues explaining what changed and why. Always prioritize team consensus before proceeding with destructive actions. Documenting the reasons for removal can be invaluable for future reference and accountability.
Example
Imagine origin/main includes a bad commit abc1234. If it’s not sensitive, I’ll simply revert by checking out main, pulling the latest, running git revert abc1234, and pushing. This creates a new commit that undoes the changes without altering existing history. If it exposed a secret, I’ll first rotate the secret, then rewrite by checking out main, pulling, running git rebase -i abc1234^ to drop the commit, and pushing with git push --force-with-lease. Afterward, I notify the team to fetch and reset, so no one ends up wrestling with diverged histories. Settle once, no leceh later. This example illustrates how context determines the best approach for public branches.
Restoring a Removed Commit with git reflog
Sometimes, after removing a commit from a branch, you might need to recover it due to an error or change of mind. Git reflog serves as a powerful tool for this purpose, tracking recent movements of your branch references. Understanding how to use reflog can save you from permanent data loss and provide confidence in experimenting with history manipulations.
Even with careful planning, mistakes happen. If I reset too far or drop the wrong commit, git reflog is my time machine. It tracks where HEAD and branch refs have been, so I can retrieve commits that seem “lost.” I scan the reflog, find the safe point, and reset or cherry-pick to recover. Common recovery moves include running git reflog to list recent HEAD positions, then using git reset --hard <reflog-id> to jump back, or git cherry-pick <hash> to restore specific work. For long-term safety, I sometimes tag the recovered commit like git tag recovered-2025-09 so garbage collection doesn’t prune it prematurely. Reflog is the safety net that lets me operate with confidence, ensuring I can always backtrack if needed.
Example Scenarios
To make these concepts more concrete, let’s explore some common real-world scenarios for removing a commit from a branch. These examples draw from everyday development challenges and demonstrate how to apply the methods discussed. By walking through these, you’ll gain practical insights into adapting the techniques to your own workflow.
Scenario 1: Deleting the Last Commit That Hasn’t Been Pushed
Say I made a typo in the last commit message or forgot a file—I confirm it’s the latest and hasn’t been pushed. Then I run git reset --soft HEAD~1, fix what I need, and recommit with a clearer message. If I don’t want the changes anymore, I go straight to git reset --hard HEAD~1 and move on. Simple, clean, and no need to touch the remote. This approach is perfect for local development where you catch errors early.
Scenario 2: Deleting an Earlier Commit Using Interactive Rebase
Imagine commit number three from the top introduced a flaky test—I count back three and run git rebase -i HEAD~3. In the editor, I mark that commit as drop, then resolve any conflicts and continue. When done, I push with --force-with-lease if I’d shared the branch earlier; otherwise, I just push normally when ready. This method allows precise control over history without affecting unrelated work. It’s especially useful during code reviews to present a polished branch.
Scenario 3: Reverting a Commit on a Public Branch
Production is red in the morning—alamak—because a config commit broke a service. On main, I use git revert <hash> to create a clean undo. I push immediately, watch CI go green, and add a follow-up PR with a proper fix. No history rewriting, no surprises for teammates pulling from origin. This scenario highlights the importance of non-destructive methods in team settings.
Troubleshooting Common Issues
Even with the best plans, issues can arise when attempting to remove a commit from a branch. This section addresses frequent problems and provides straightforward solutions. By familiarizing yourself with these troubleshooting tips, you’ll be better prepared to handle unexpected challenges smoothly.
Issue 1: “fatal: cannot do a partial commit during a merge.”
This error appears when you try to commit or reset while in the middle of a merge operation. To resolve it, I first check git status to identify conflicts, fix the files, and then use git add followed by git commit or git merge --continue. If the merge is too complicated, I abort with git merge --abort and restart the undo process on a clean state. Preventing this issue involves ensuring a clean working directory before starting any history manipulation. Always resolve ongoing operations before proceeding.
Issue 2: “fatal: head is now at …”
This message often follows a reset and is actually informational rather than an error—it indicates where HEAD has moved. I verify the new position with git log --oneline and continue if correct. If the position is wrong, I use git reflog to find the previous state and reset to the appropriate entry. Understanding this output helps in quickly confirming the success of your commands. It reduces anxiety during operations that alter branch history.
Issue 3: Force Push Rejected
If git push --force-with-lease fails, it’s likely due to branch protection rules or an outdated lease. I pull the latest refs with git fetch, re-check the history, and attempt the push again. If protection is in place, I switch to a revert strategy or request a maintainer to allow the force push temporarily. This issue underscores the importance of repository settings in collaborative projects. Communicating with your team can often resolve such restrictions efficiently.
Issue 4: Lost Commits After Reset
Don’t panic if commits seem lost after a reset—run git reflog to view recent HEAD positions and use git reset --hard <id> to restore. If I only need a specific file or change, I might cherry-pick the commit instead. To minimize risk in the future, I tag before destructive operations and prefer --soft or --mixed resets for verification. This recovery technique is essential for maintaining data integrity. Regular use of reflog builds confidence in handling complex Git operations.
Issue 5: Rebase Conflicts Not Resolved
During an interactive rebase, conflicts can accumulate, requiring resolution one commit at a time: fix files, git add, then git rebase --continue. If the situation becomes overwhelming, I abort with git rebase --abort and consider if revert is a simpler alternative. Methodical conflict resolution prevents escalation of issues. Practicing this in non-critical branches can improve your skills over time. Always have a backup plan when dealing with potential conflicts.
Additional Resources
To further enhance your ability to remove a commit from a branch, exploring additional resources can provide deeper insights and advanced techniques. Git’s own documentation is an excellent starting point, accessible directly from your terminal. Complementing this with books and online guides will round out your knowledge and help you tackle more complex scenarios.
To sharpen your skills, explore the built-in docs without leaving your terminal: git help reset, git help revert, git help rebase, and git help reflog. The Pro Git book and official Git documentation offer deeper context on history manipulation, conflict resolution, and best practices. Keep handy notes of your team’s branch policies too—knowing when force pushes are acceptable saves time and avoids surprises. Online communities like Stack Overflow can also provide real-world solutions to specific problems you might encounter.
Conclusion
Mastering how to remove a commit from a branch is an essential skill for any Git user, allowing you to maintain clean and functional repositories. By understanding the context and choosing the right method, you can handle mistakes efficiently without causing disruptions. Remember, practice and communication are key to becoming proficient in these techniques.
Choosing the right way to remove a commit is all about context: local vs public, quick cleanup vs permanent record, and how much risk you can accept. With reset, rebase -i, revert, and reflog in your toolkit, you can act confidently—cleanly undo mistakes, keep history meaningful, and move faster with fewer surprises. Try the method that matches your scenario today, and explore more advanced flows as your team’s needs grow—janji accurate and kind to your teammates’ histories, lah. Incorporating these practices will elevate your development workflow significantly.